1. SpringBoot快速回顾(分别使用注解和xml方式去声明Bean,获取Bean) |
您所在的位置:网站首页 › java xml配置bean › 1. SpringBoot快速回顾(分别使用注解和xml方式去声明Bean,获取Bean) |
1. SpringBoot快速回顾(分别使用注解和xml方式去声明Bean,获取Bean)
|
SpringBoot快速回顾(@configuration注解)
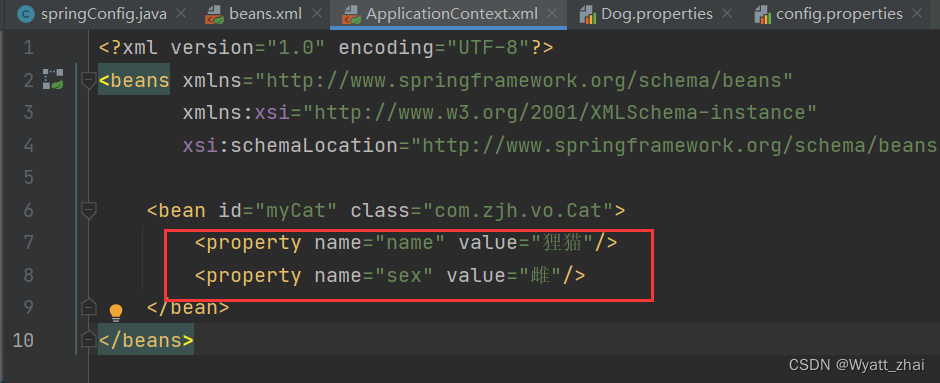
1. 使用xml声明Bean1.1 创建测试实体类1.2 创建xml文件(目的:将实体类声明成Bean)1.3 测试
2. 使用注解@configuration声明Bean2.1 已经声明过实体类Student2.2 定义配置类2.3 测试
3 使用@Component声明Bean3.1已经声明过的Dog实体类3.2 定义配置类3.3 测试
4. 使用注解@ImportResource将xml文件导入config4.1 借助注解@ImportRecource导入配置类4.2 测试
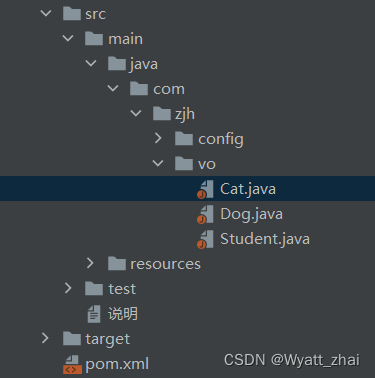
创建一个Maven项目,配置依赖环境,再编程测试 4.0.0 com.zjh 001-pre 1.0.0 8 8 org.springframework spring-context 4.1.6.RELEASE junit junit 4.12 test org.apache.maven.plugins maven-compiler-plugin 3.8.1 1.8 1.8 UTF-8 1. 使用xml声明Bean 1.1 创建测试实体类
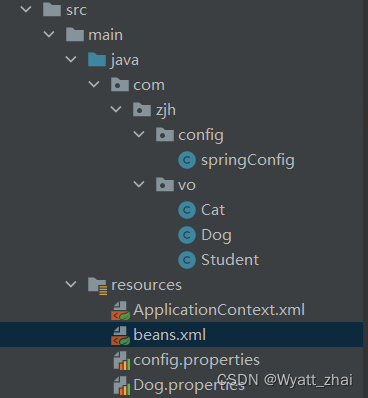
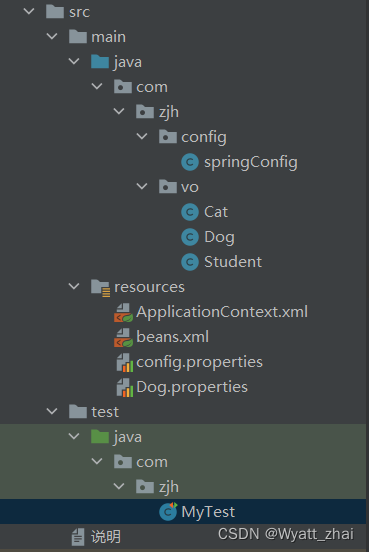
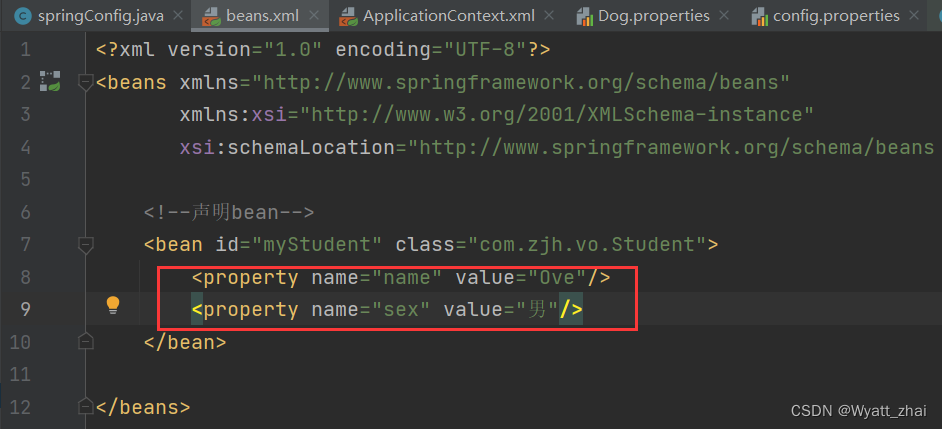
目录框架 文件名:beans.xml 文件名:ApplicationContext.xml 1.3 测试目录结构 控制台测试结果: 总结:先创建实体类student----->再创建beans.xml (将实体类声明为Bean)------>获取beans.xml文件-------->取出声明的Bean 注意:打印的数据 是在 beans.xml 中定义的 2. 使用注解@configuration声明Bean@configuration注解可以代替xml文件,但是对于如何将一个实体类声明为Bean,这里使用的仍然是@Bean注解。原本是在 .xml 文件中使用@Bean。现在是在 .java 文件中使用@Bean。 2.1 已经声明过实体类Student 2.2 定义配置类目录框架 控制台输入结果 总结:先创建实体类student----->创建配置类,将Bean注入到容器里------------>最后获取配置类------->取出声明的Bean 注意:最大的区别 就是不需要创建xml文件,直接使用写类和方法的方式代替 3 使用@Component声明Bean第二章说到是在.java(使用@configuration注解声明的 .java 类型的配置文件)文件中使用@Bean的方式。 实际上我们一般不这样声明一个bean 最常用的还是使用@Component注解直接写在实体类上面(参考Dog类),这样就不需要在配置类中写@Bean声明了 3.1已经声明过的Dog实体类 package com.zjh.vo; import org.springframework.beans.factory.annotation.Value; import org.springframework.stereotype.Component; //利用注解生成Dog类的对象dog @Component("dog") public class Dog { private String name; private String sex; @Override public String toString() { return "Dog{" + "name='" + name + '\'' + ", sex='" + sex + '\'' + '}'; } } 3.2 定义配置类 //@Configuration表明这个类是一个配置类 @Configuration //使用组建扫描器扫描这个路径下的包,看哪里使用了注解component---原来是Dog类中使用了注解,生成了对象dog @ComponentScan(basePackages = "com.zjh.vo") public class DogConfig { public void DogConfig(){ System.out.println("这里不用声明bean"); } } 3.3 测试 public class MyTest { //DogConfig测试案例 @Test public void test5(){ ApplicationContext ctx = new AnnotationConfigApplicationContext(DogConfig.class); Dog ctx_dog = (Dog) ctx.getBean("dog"); System.out.println(ctx_dog); } }打印结果,可以看出获取到了bean 有一种情况下,我们已经创建了一些xml文件,需要读取xml文件。与此同时,我们还有配置类。 此时代码就有些混乱,因为读取这两个方式定义的Bean,方式不一样(参考两个测试代码)。 为了规范统一,将xml导入到配置类,获取Bean的时候就使用一个方式就可以。 4.1 借助注解@ImportRecource导入配置类 //@Configuration表明这个类是一个配置类 @Configuration //@ImportResource表明需要导入其他的xml配置文件 @ImportResource(value = {"classpath:ApplicationContext.xml","classpath:beans.xml"}) //容器读取到配置文件,但无法找到文件里面写的对象dog,这个dog对象是使用注解@component生成的 @PropertySource("classpath:Dog.properties") //使用组建扫描器扫描这个路径下的包,看哪里使用了注解component---原来是Dog类中使用了注解,生成了对象dog @ComponentScan(basePackages = "com.zjh.vo") public class springConfig { /* 创建一个方法,方法的返回值是该类的对象,使用注解Bean注入到容器里 可以修改bean名称:@Bean(name = "DIY")\也可不修改,默认为方法名 */ @Bean(name = "DIY_Student") public Student createStudent(){ Student s1 = new Student(); s1.setName("佳"); s1.setSex("男"); return s1; } @Bean(name = "DIY_Cat") public Cat creatCat(){ Cat c1 = new Cat(); c1.setName("木偶猫"); c1.setSex("公"); return c1; } }
控制台打印结果 |


【本文地址】
今日新闻 |
推荐新闻 |